It’s aimed to help remove the hard disk from the original Xentry Connect C5 (SD connect C5) Star diagnostic tool.
you need:
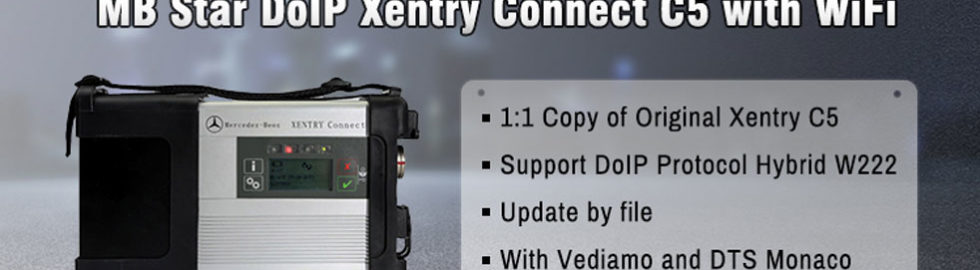
Benz SD C5 Connect
a tweezers
a screwdriver
a screwdriver
Here goes the key- remove the hard disk within STAR C5 step by step.
remove the protective layer

use the screwdriver to to take off the screws


take off the cover and the card


turn to the other side and take off the screws and the cover


this is the Xentry connect hard disk
you cannot remove it now

turn to the other side
use the tweezers to take off the side cover gently (pay attention to cables connected)


back to the side with the hard disk
now, you can remove it

remove the hard disk from sd connect c5 – SUCCESS!

Done!
No comments:
Post a Comment
Note: Only a member of this blog may post a comment.